Bruno and I not only share our adventures and travel experiences on our blog, but we also make travel videos and documentaries to publish on our YouTube channel, while we post our travel photos on Instagram.
In this article, we are going to share what cameras and equipment we use to record our travel videos and capture our travel photos.
Before continuing, you should also know that we have used some of the gear for making professional travel videos for a TV channel.
Vlogging with your smartphone
Most likely, when you hear “Gear” or “Equipment”, you might think that you have to spend a lot of money to be able to go out and make travel vlogs, but this is not true.
We used different gear over the years and upgraded slowly over time. So you can easily start filming by simply using your phone.
Using your phone can sometimes be even more convenient when you travel and move around a lot. We have made a short travel film for Three UK and it was entirely shot on iPhone XS Max. You can watch the video here.
Taking photos with your phone is really handy. You can easily take high-quality pictures with your smartphone and, with a little editing, post it on your Instagram feed.
Good Cameras for Vlogging and Photography
We use different cameras for different types of trips and activities. But, you don’t need to have a lot of different cameras to be able to create quality content. I will describe in more detail the cameras we use and you can choose the one that meets your needs.
Sony Mirrorless Camera for Travel
Our main camera is a Sony a6500. Most of our travel videos are recorded using this camera.
We spent a lot of time researching and watching reviews of different cameras and prices before choosing our new main camera. We chose the Sony a6500 for our travel videography at the time because it was smaller and lighter than most competitors, so perfect for travelling.
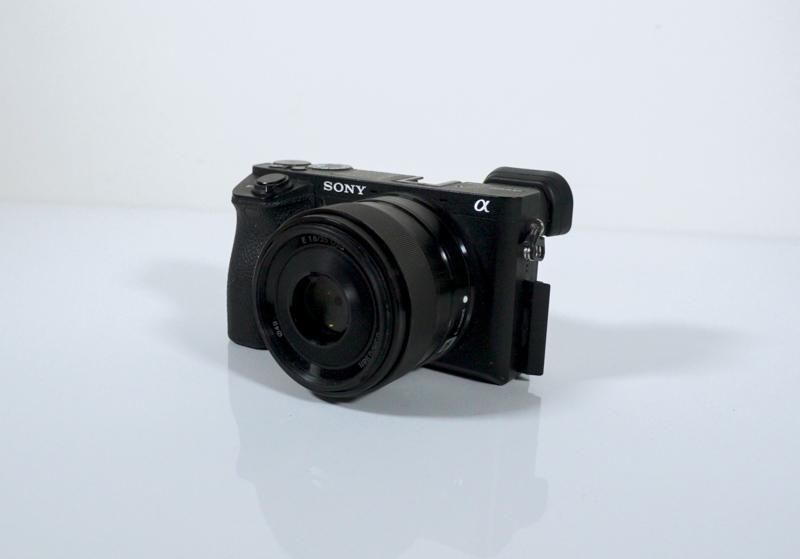
This camera also supports shooting in 4K and the autofocus looked amazing, which is an important factor for capturing travel content while moving from place to place without having to throw away shots because they are out of focus. It also shoots up to 120 frames per second in 1080p.
Most of my photos on Instagram have been taken with this camera. You can see an example here.

We have 3 lenses: a zoom lens (Sony SEL1670Z E Mount) which we use by default, a prime lens (Sony SEL35F18 E Mount) mostly for portrait shots and food photography, and a wide lens (Sony SEL1018 E Mount ) to shoot indoors or in tight spaces.
The main disadvantages of this camera for vlogging are that the screen doesn’t flip out but it’s usually Bruno filming me so that was not a deal-breaker for us. Keep in mind if you want to vlog with this camera, you won’t be able to see yourself. Sometimes, when I travel alone, I use our wide lens to talk to the camera just to make sure I’m always in frame.
In addition, this Sony camera overheats when shooting longer clips, which is not a big deal when you are on the road and capture short clips, but it can be annoying when you want to record a longer video talking to the camera, or interviewing someone for a long podcast video.
Compact Camera for Vlogging: Sony RX100 V
The other camera we use is the Sony RX100 Mark V, it is a compact camera, so it’s much smaller, and it does have a flip-out screen so it can be a good camera for vlogging.
It can shoot in 4k and it shares the same colour profiles as our main camera (Sony a6500), so it makes it easier to mix shots from the two cameras and they usually colour-match quite nicely.
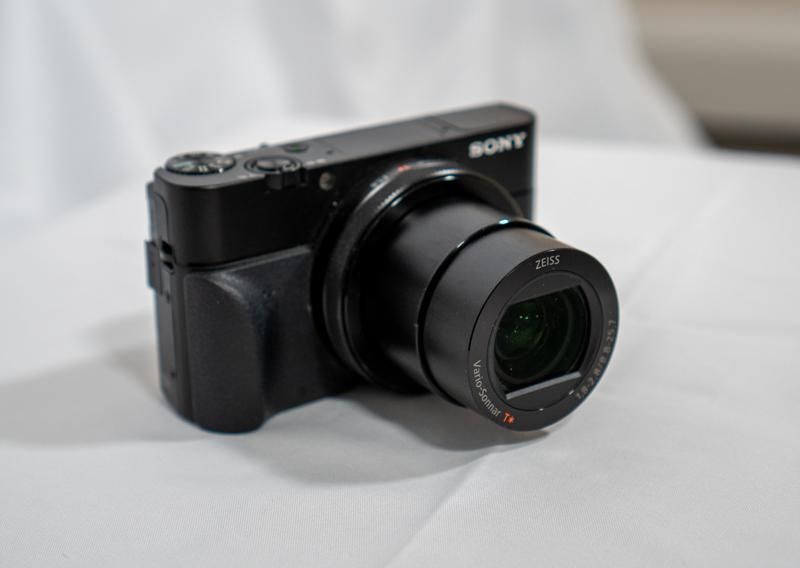
Some advantages and disadvantages are: there is no input for an external microphone, and since it’s a compact camera you can’t change lenses, but it is very light and you can easily put it into your pocket.
The Sony RX100 Mark V has a 1-inch sensor, the quality of the footage is usually more than good enough for a vlog. We also use it with an underwater housing to film underwater while scuba diving.
When we travel together we use both cameras, Sony a6500 and Sony RX100 Mark V, so we can both film and have different angles in our videos.
Sometimes, when I travel without Bruno, I only film and take photos with this compact camera like when I was in Madeira. I had to move around all the time and couldn’t carry a big camera with different lenses with me.
Action Camera for Vlogging
I am sure by now you know we love adventure and activities as part of our travel plans. For action and activities, we use GoPros. It is not only easier to carry a GoPro on your cycling adventure, or a skiing trip but it is also safer. The GoPro won’t break as easily as other cameras or lenses if you fall or drop it during your activities. We also use GoPros for photography when we are on adventure trips.
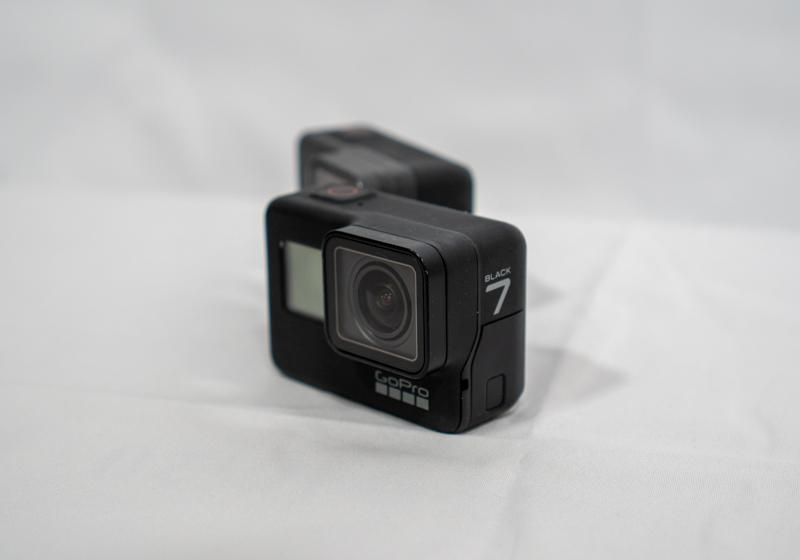
The GoPro was our main camera when we started filming our travel vlogs before buying the Sony. It is also a cheap way to film underwater.
Using a Drone for Travel Videography
Having a drone when you travel is a great way to film when you are in nature. We all love watching aerial footage.
Flying a drone can also be fun, but it can be complicated since each country has different restrictions, and they keep changing all the time. Our drone is a good friend of ours, but sometimes we have to leave it at home.
Video Stabilisation
If smooth stable videos are a priority when you are filming, you should probably try out a camera stabiliser, like a gimbal. We sometimes use our Zhiyun Crane gimbal with our Sony a6500 to take smoother shots. Of course, it will take up some extra space in your bag so carry it only if you really need it.
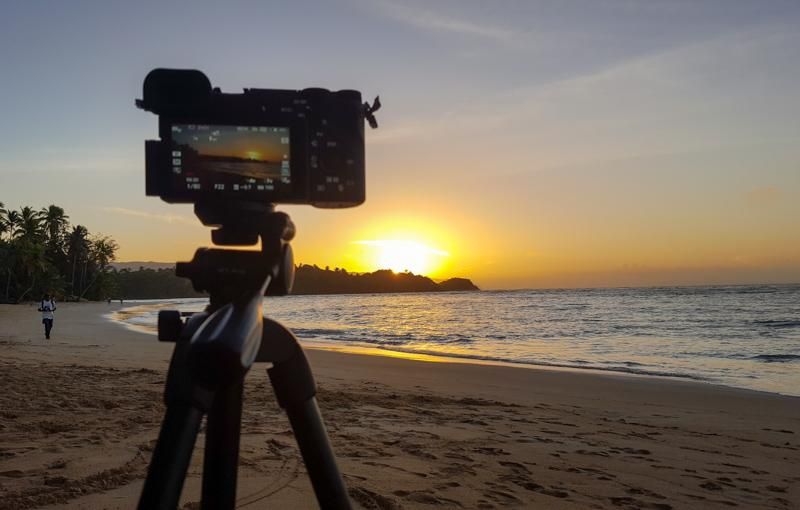
If you don’t have a gimbal or any other camera stabiliser, you can take advantage of your tripod for smoother camera panning. If you mainly film handheld, just try not to walk too fast, and if you have to... try using a wide lens.
The newer GoPros (Hero 7 and 8) do a pretty amazing job at stabilising your footage too, so consider that an option if you need some stable footage.
Improving the Audio in Travel Videos
The audio of your videos is also very important. You want your audience to be able to hear you clearly.

We have been using the Rode VideoMic Pro on top of our Sony a6500 for improving the audio quality. This microphone is great when talking directly to the camera and without being too far, otherwise, using a Rode Lavalier Microphone attached to a shirt and plug it into your phone might be a better way to go.
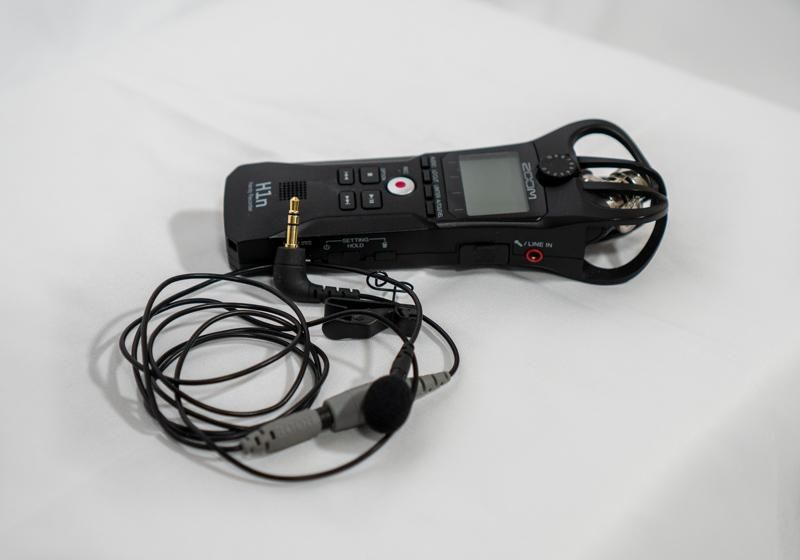
We use our Lavalier microphone with the Zoom H1N, which is a great audio recorder. We can use it to record ambient sound or just record me talking to the camera. In this case, I am not worried if I turn my head or if I am too far from the camera.

We also have a wireless Bluetooth microphone that can easily be used with a mobile phone. It’s the SabineTek SmartMike+. You can simply pair it with your phone, and since it’s really small and lightweight, you can attach it to your shirt and start recording, you will get clearer audio and you will be able to move farther away from your phone without your voice losing volume. By using this microphone, you can improve the quality of audio of your Instagram stories too.
Video Editing Software
In the beginning, I was mostly using Final Cut Pro to edit my videos, but it has now been a few years that we switched to the Adobe Creative Cloud Suite.
We don’t have anything against Final Cut, it is a great piece of software, but we found Premiere Pro to work a little better for us. We also already had a subscription with Adobe to edit our photos using Lightroom and Photoshop, so we simply upgraded to also be able to use Premiere Pro and sometimes even After Effects when we want to have some fun or when we need some extra editing possibilities.
Let me know if you have any questions in the comment section below or feel free to share any tips you might have with me.